Enjoy salon-smooth feet at home with simple pedicure hacks that save time and money while keeping your feet soft, clean, and beautifully maintained year-round.
Table of Contents
Toggle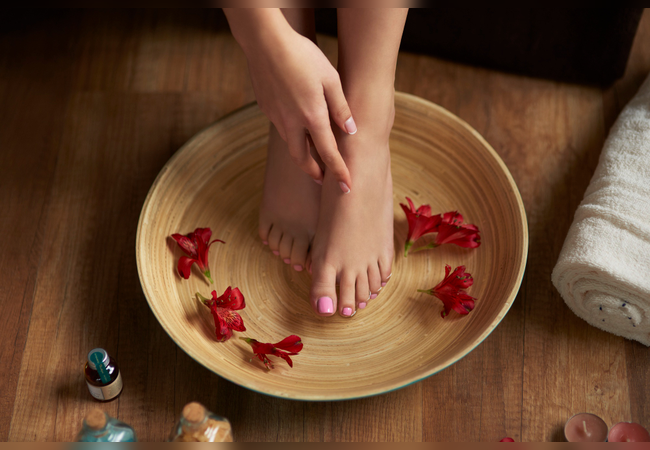
Our feet carry us everywhere—from busy commutes to long walks, workouts, and errands. Yet, when it comes to self-care, they’re often the most overlooked part of our body. Over time, neglect shows up in the form of dryness, rough patches, calluses, and cracked heels. While an occasional salon pedicure feels luxurious, maintaining healthy feet doesn’t always require a professional touch. With a few simple hacks, you can achieve salon-like results right at home without breaking the bank.
In this blog, we’ll cover step-by-step pedicure hacks, natural remedies, and product tips to keep your feet soft, smooth, and healthy.
Many people only think of pedicures as a beauty ritual, but they are much more than that. Regular foot care improves circulation, prevents infections, and keeps your skin barrier strong. Neglect, on the other hand, can cause:
Taking 20–30 minutes once a week for a home pedicure can prevent all these issues and make your feet look polished year-round.
A foot soak is the foundation of every good pedicure. It doesn’t just clean your feet—it relaxes tired muscles and preps the skin for exfoliation.
This softens rough skin and loosens dirt, making scrubbing and moisturizing more effective later.
Pro tip:If you have cracked heels, adding a few drops of coconut oil to the soak gives extra nourishment.
Once your feet are softened, exfoliation is key to removing dead skin cells and calluses. Skipping this step leaves your feet looking dull, no matter how much moisturizer you apply.
This is where Royal Ubtan comes in. Traditionally used as a skin-brightening paste, Royal Ubtan doubles as a natural, gentle scrub for feet.
This step not only polishes your skin but also improves blood circulation, leaving your feet looking brighter and healthier.
Clean, healthy nails complete the pedicure look. Poor nail care often leads to ingrown nails, infections, and uneven growth.
Pro tip: Always disinfect your nail tools before and after use to avoid infections.
After exfoliation, your feet are ready to absorb moisture. Hydration is what keeps them soft, prevents cracks, and maintains elasticity. A rich foot cream should be your go-to product here.
Massage the cream thoroughly into your feet, focusing on heels and soles. A few minutes of massage also boosts circulation, helping your skin repair overnight.
For best results, apply foot cream before bedtime and wear cotton socks to lock in the moisture.
Most people forget that feet are exposed to the sun just like the rest of the body. Whether you’re wearing sandals, flip-flops, or open heels, UV rays can cause tanning, pigmentation, and even premature aging of the skin on your feet.
Always finish your pedicure by applying a natural sunscreen to your feet before stepping out during the day.
Not every week allows a full pedicure session, but these mini-hacks can keep your feet healthy between treatments:
Daily Moisturization: Apply a thin layer of foot cream after your evening shower.
DIY Scrub: Mix sugar with coconut oil for a quick 2-minute scrub if you’re short on time.
Foot Spray: Use a refreshing mist with rosewater or aloe vera for instant freshness in summer.
Stay Hydrated: Drinking water regularly keeps your skin, including your feet, soft and supple. Choose Breathable Shoes: Cotton socks and natural fabrics reduce sweat and odor.
Your feet deserve the same love and care you give your face and body. Regular pedicures not only keep them soft and beautiful but also prevent discomfort and long-term issues. The best part? You don’t need to visit a salon—just a little time, consistency, and the right products are enough.
By following these simple hacks—starting with a soak, scrubbing with Royal Ubtan, trimming your nails, and finishing with a nourishing foot cream—you can give your feet a salon-quality treatment at home. Add sunscreen for protection, and you’ll always step out with confidence.
Healthy feet are happy feet, and with these at-home pedicure hacks, you can keep them looking fresh and feeling fantastic all year round.